
Diagnose and Repair Common Mac Motherboard Issues
Diagnosing the Problem
When a car owner notices something wrong with their vehicle, the first step to take is to diagnose the problem. A diagnosis is a determination of what’s causing a certain symptom or malfunction. It’s important to do this correctly in order to accurately repair the issue and ensure it doesn’t happen again.
Before trying to diagnose a problem, it helps if you have some knowledge of automobiles and can recognize certain warning signs, such as an engine light or strange noises coming from under the hood. However, if you don’t have any automotive experience, there are still steps you can take that may help pinpoint the issue. Click the link https://lykrepair.com/macbook-repair/ for further information about Mac motherboard repair.
First, make sure all maintenance is up-to-date and that nothing has been missed in recent servicing appointments. This could include checking fluid levels such as oil and coolant as well as inspecting for worn parts like brakes or spark plugs. If everything appears normal here then it may be time for more detailed troubleshooting procedures like using a diagnostic tool or code reader on your vehicle’s computer system.
Tools Required for Repair
No matter what type of repair you are doing, there are some basic tools you will need to get the job done. Whether it’s fixing a car, repairing a broken appliance, or even just changing out a light bulb, having the right tools for the job is essential. Here is a list of some common items that should be in everyone’s toolbox:
- Screwdrivers: A good set of screwdrivers with multiple sizes and heads will come in handy for all sorts of repair jobs. Make sure to have both flathead and Phillips-head drivers on hand.
- Pliers: Pliers can help with gripping and twisting objects during repairs. They can also be used to cut wires or other materials as needed.
- Wrenches: Wrenches come in various types and sizes depending on the project at hand. Adjustable wrenches are great because they provide versatility when it comes to working with different nuts and bolts along with other hardware components.
- Hammers: Hammers are great for pounding nails into surfaces or loosening stuck objects like screws in hard-to-reach places. An ordinary claw hammer is all you need for most home repairs but make sure to keep one around just in case!
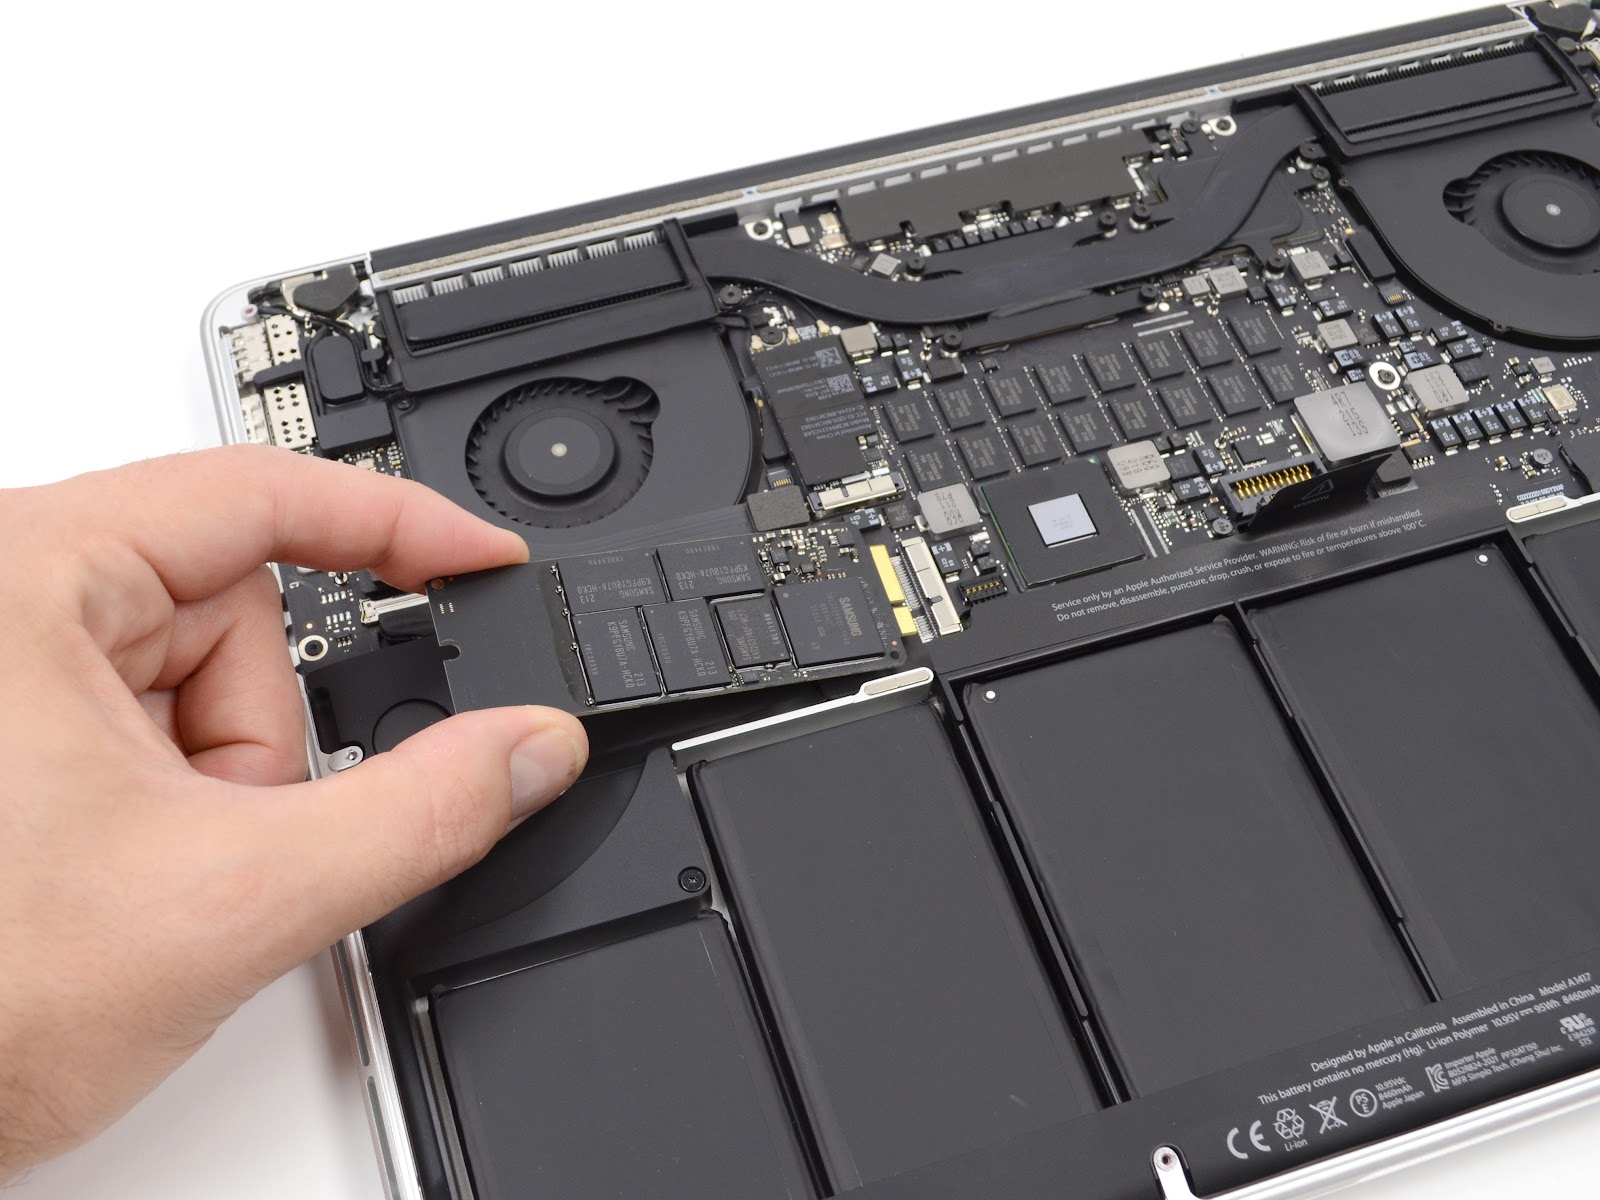
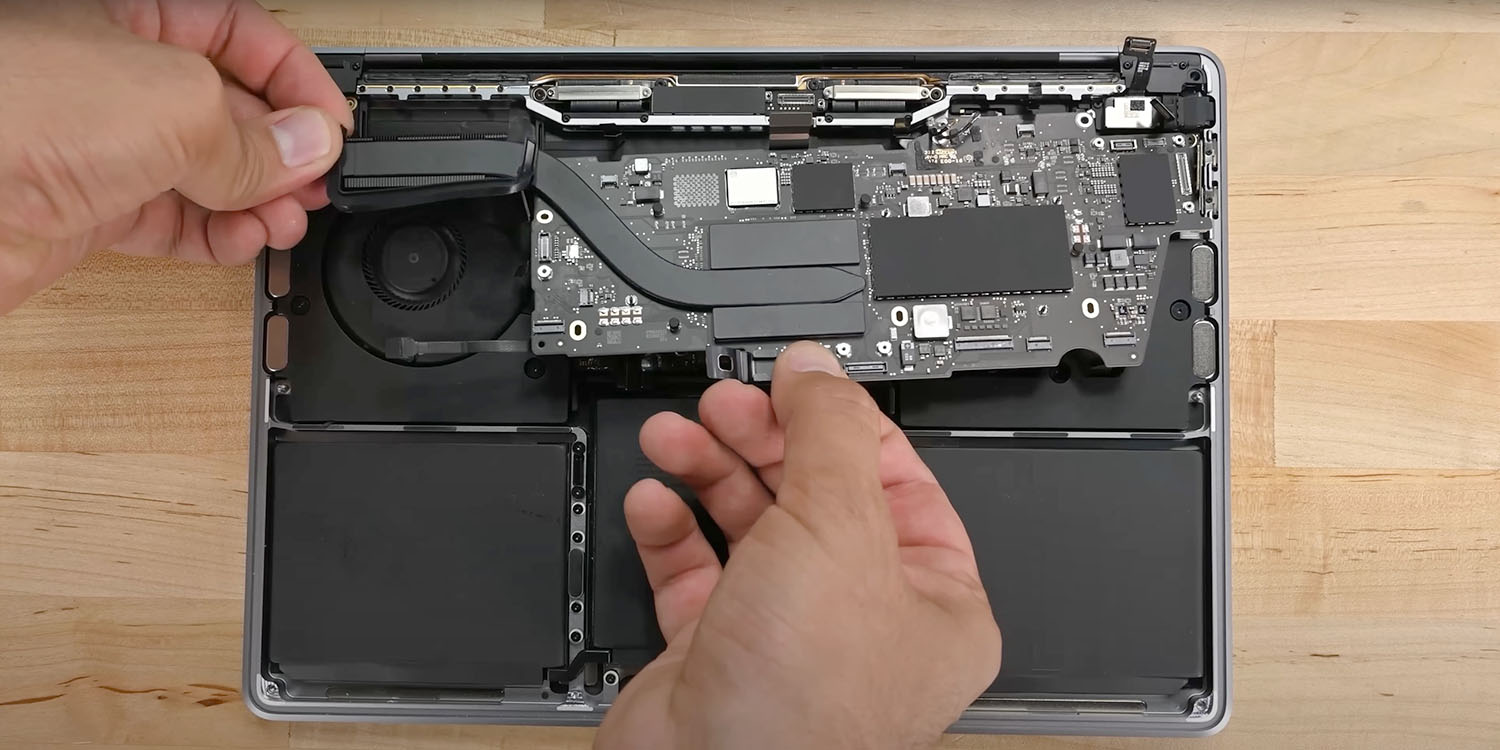
Disassembly of the Mac Motherboard
The Mac motherboard is one of the most important components of any Mac computer. It is responsible for connecting all the other components and ensuring that everything runs smoothly. The Mac motherboard can be disassembled with a few basic tools and some patience. This article will explain how to safely disassemble a Mac motherboard.
Before beginning, it’s important to gather all of the necessary tools, including a Phillips head screwdriver, anti-static wrist strap, pliers or tweezers, flathead screwdriver, needle nose pliers or tweezers, and thermal paste (for reassembly). Additionally, you may need small bits for removing certain screws on the motherboard such as Torx bits for removing screws with special heads.
To begin the disassembly of your Mac’s motherboard:
1) Power off your computer completely before starting work. Unplug any cables connected to it as well as its power cord from the outlet.
2) Unscrew all visible screws on the back of your machine using a Phillips head screwdriver; you may find some hidden screws under stickers or rubber feet that need to be removed first in order to access them.
Inspecting for Damage or Faults on the Board
Whether you’re a seasoned surfer or just starting out, inspecting your board for damage or faults is an important step before hitting the waves. Even with proper care, boards can suffer from wear and tear or even water damage. It’s essential to check for any signs of damage on your board before getting in the water for both safety and performance reasons.
Before inspecting your board, it’s important to lay it flat on a clean surface where you can easily see all sides of the board. Start by looking at the overall condition of your board. Are there any dings, dents, or scratches? Do any corners look sharp? If so, these could indicate that you need some repairs done before taking it out into the water.
Next, inspect all components closely: fins, foot straps, and plugs as well as screws and other hardware should be checked for signs of rust or corrosion. Make sure that everything is securely fastened to avoid accidents while surfing in rough waters. Also, check that no part of the body has been cracked due to direct impact with rocks or other hard surfaces underwater – if so then additional repairs will be required before use again in order to prevent further deterioration over time.
Replacing Damaged Components and Reassembling
When a piece of equipment has been damaged, it is sometimes necessary to replace some of its components and reassemble the device. This can be a difficult task, but with the right tools and knowledge, it can be accomplished relatively easily.
The first step in replacing damaged components and reassembling a device is to identify which parts need to be replaced. Depending on the type of equipment being worked on, this could range from individual screws or bolts to entire circuit boards. Once you have identified all the necessary replacement parts, it is important that you obtain exact replacements for them so that they will fit correctly when assembled.
Next, disassemble the device carefully by removing any screws or other fasteners that are holding pieces together. As you do this, make sure you keep track of where each part goes so that when it comes time to put everything back together again later on down the line there won’t be any confusion as to where things go. Once all of the original parts have been removed from the device, then begin installing your new replacement components one by one until all are in place and secured tightly with their respective screws and fasteners if applicable.
Final Testing to Ensure Proper Functionality
Final testing is a crucial part of software development and is essential for ensuring proper functionality in a program or system. Final testing should be done before the product is released to the public and should include rigorous tests that cover all aspects of the program or system.
The purpose of final testing is to make sure that the product meets all requirements set out during its development, such as security protocols, usability, compatibility with other systems, and performance. During this phase, testers will typically use various automated tools to verify that these requirements are met. This includes verifying code quality and running various tests on different operating systems.
In addition to automated tests, manual tests are also important in order to ensure proper functionality in certain areas where automation may not be able to detect subtle problems or errors. Manual testers will look for any potential bugs or issues by carrying out different scenarios using real-world data sets. They may also need to manually test user interfaces that require extensive user input such as forms and menus. Further manual tests may involve simulating network connections between two machines running different versions of an application or conducting stress tests on hardware components such as memory cards and processors.
Conclusion
In conclusion, Mac motherboard repair can be a complicated process for even experienced technicians. It requires a certain level of expertise to properly diagnose and repair a Mac motherboard. Although this can be an intimidating task, with the right tools and knowledge, it is possible to successfully complete the repair.
Also Read : https://migatrendz.com/